
Table of Contents
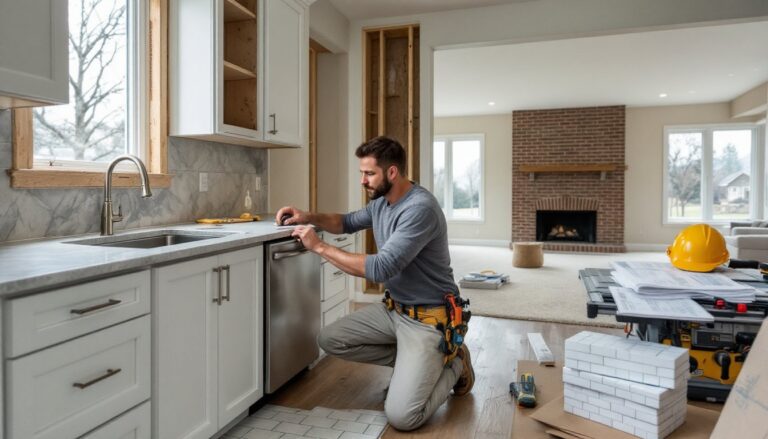
ToggleInstalling home theater wall panels isn’t just about making a room look good, it’s about controlling how sound behaves in the space. Whether someone’s dealing with echo during dialogue-heavy scenes or trying to keep bass from bleeding through to the next room, the right panels make a measurable difference. They also add visual interest, turning a bland media room into a dedicated theater environment. This guide covers the types, materials, installation process, and design strategies that help homeowners get professional results without hiring a contractor.
Key Takeaways
- Home theater wall panels control sound reflections by absorbing or diffusing acoustic energy, making even budget speaker systems sound dramatically better than untreated rooms.
- Acoustic absorption panels work best at specific frequencies depending on thickness—1-inch panels handle mid-to-high frequencies, while 4-inch panels or corner bass traps are needed for low-frequency control below 250 Hz.
- Strategic placement at first reflection points (typically 2-4 feet from speakers), behind the listening position, and in corners delivers professional results without covering entire walls, saving money and maintaining natural acoustics.
- DIY home theater wall panels cost $15-30 per panel in materials, while pre-made fabric-wrapped panels range from $60-400 depending on design, making acoustic treatment accessible for most budgets.
- Installation requires proper mounting hardware like Z-clips or French cleats for heavier panels, and placement should follow acoustic guidelines rather than random coverage to maximize both performance and aesthetic impact.
What Are Home Theater Wall Panels and Why Do They Matter?
Home theater wall panels are surface treatments designed to improve acoustics and aesthetics in dedicated viewing spaces. They typically fall into two categories: acoustic panels that absorb or diffuse sound waves, and decorative panels that enhance visual appeal while providing minimal acoustic benefit.
The physics are straightforward. Sound waves bounce off hard surfaces like drywall, creating reflections that muddy dialogue and distort soundstage imaging. Acoustic panels reduce these reflections by converting sound energy into heat through friction within porous materials like fiberglass, mineral wool, or open-cell foam. This tightens bass response and clarifies mid-range frequencies where most movie dialogue lives.
Without treatment, even high-end speakers underperform. A $3,000 surround system in an untreated room often sounds worse than a $1,000 system with proper panel placement. The difference is especially obvious in rectangular rooms with parallel walls, where standing waves create peaks and nulls in frequency response.
Decorative panels, by contrast, add texture and depth but don’t significantly alter room acoustics unless they’re specifically designed with absorption or diffusion properties. They work well in spaces where sound control is already adequate but visual impact is lacking.
Types of Wall Panels for Your Home Theater
Choosing the right panel type depends on the room’s acoustic problems and aesthetic goals. Here’s how the main categories break down.
Acoustic Panels vs. Decorative Panels
Acoustic absorption panels use porous materials to soak up sound. Common core materials include:
- Fiberglass (2-4 lb/ft³ density): Offers excellent broadband absorption, especially when panels are 2-4 inches thick. Requires fabric wrapping due to airborne fibers. Cost-effective for DIY builds.
- Mineral wool (Rockwool): Similar performance to fiberglass but less irritating to work with. Slightly higher cost. Good fire resistance.
- Open-cell acoustic foam: Lightweight and easy to mount with adhesive. Works well for mid-to-high frequencies but less effective below 500 Hz. Avoid cheap egg-crate foam, it’s mostly cosmetic.
Diffusion panels scatter sound reflections instead of absorbing them, preserving room energy while eliminating echoes. They’re typically made from wood or molded plastic with geometric surface patterns (quadratic diffusers, skyline diffusers). Best used on rear walls behind the listening position.
Decorative fabric-wrapped panels combine a thin acoustic core (1-2 inches) with printed or solid fabric. They provide moderate absorption while doubling as wall art. Popular in living rooms where full acoustic treatment looks too studio-like.
Bass traps are thick corner-mounted panels (6-8 inches or more) that tame low-frequency buildup. Without them, bass sounds boomy and uneven. Place them in room corners where low frequencies accumulate.
Hybrid decorative-acoustic panels include products like slatted wood panels with acoustic backing or perforated metal panels over absorptive material. These wall paneling options offer both insulation and aesthetic benefits, making them versatile for multi-use spaces.
Choosing the Right Materials and Finishes
Material selection affects both acoustic performance and installation complexity.
For core materials, density matters. A 2 lb/ft³ fiberglass panel absorbs less than a 4 lb/ft³ panel of the same thickness. Thickness also plays a role: 1-inch panels handle frequencies above 1000 Hz, while 4-inch panels work down to 250 Hz. For bass below 125 Hz, corner-mounted traps 8-12 inches thick are necessary.
Fabric covering should be acoustically transparent, tight weaves block sound. Guilford of Maine FR701 and similar products are industry standards. Avoid heavy upholstery fabrics or vinyl, which reflect sound rather than letting it pass through. Test by holding fabric up to your mouth and breathing through it: if airflow is restricted, sound will be too.
Frame materials include:
- 1×4 or 1×3 pine: Standard for DIY panels. Actual dimensions are 3/4″ x 3.5″ or 3/4″ x 2.5″. Use wood glue and brad nails at corners.
- Aluminum extrusion frames: Cleaner look, more expensive. Common in commercial installations.
- Frameless edge-wrapped panels: Fabric wraps around panel edges with no visible frame. Professional appearance but trickier to DIY.
Finishes range from solid neutral tones (gray, black, beige) to custom-printed fabric with images or patterns. Some manufacturers offer photo printing on acoustically transparent fabric, allowing panels to function as both art and treatment.
For a cohesive design, many homeowners browse inspiration galleries to see how different finishes and materials integrate with existing décor before making final selections.
How to Install Home Theater Wall Panels: A Step-by-Step Guide
Installation methods depend on panel weight and whether wall damage is acceptable.
Tools and materials:
- Stud finder (if mounting to studs)
- Laser level or chalk line
- Drill/driver
- Z-clips or French cleats (for heavy panels)
- Command strips (for lightweight foam panels under 2 lbs)
- Drywall anchors (if not hitting studs)
- Safety glasses and gloves
Step-by-step installation:
-
Measure and mark placement. Use acoustic measurement guidelines: first reflection points are typically 2-4 feet to the left/right of the front speakers and at ear height. Use a laser level to ensure panels align horizontally.
-
Locate studs. For panels over 5 lbs, mounting to studs (typically 16″ on center) provides the most secure hold. Mark stud locations with painter’s tape.
-
Attach mounting hardware. Z-clips work well for framed panels. Screw one side of the clip to the back of the panel frame, the other to the wall. French cleats (angled interlocking strips) handle heavier panels and allow easy removal.
-
Hang panels. Lift panel and hook the mounting hardware. Check level before fully seating. For lightweight foam panels, heavy-duty Command strips (rated for 3-5 lbs per pair) avoid wall damage but may fail in high humidity.
-
Space evenly. Panels don’t need to cover every inch. 20-30% wall coverage often suffices. Space panels 6-12 inches apart for visual rhythm.
Safety note: Wear a dust mask when cutting fiberglass or mineral wool. Particles irritate lungs and skin. Work in a ventilated area.
Structural walls and fire-rated assemblies require care. Don’t penetrate fire blocking or compromise rated drywall without consulting local building codes. This is cosmetic work, not structural, so permits typically aren’t required, but check local rules if modifying walls in multi-family dwellings.
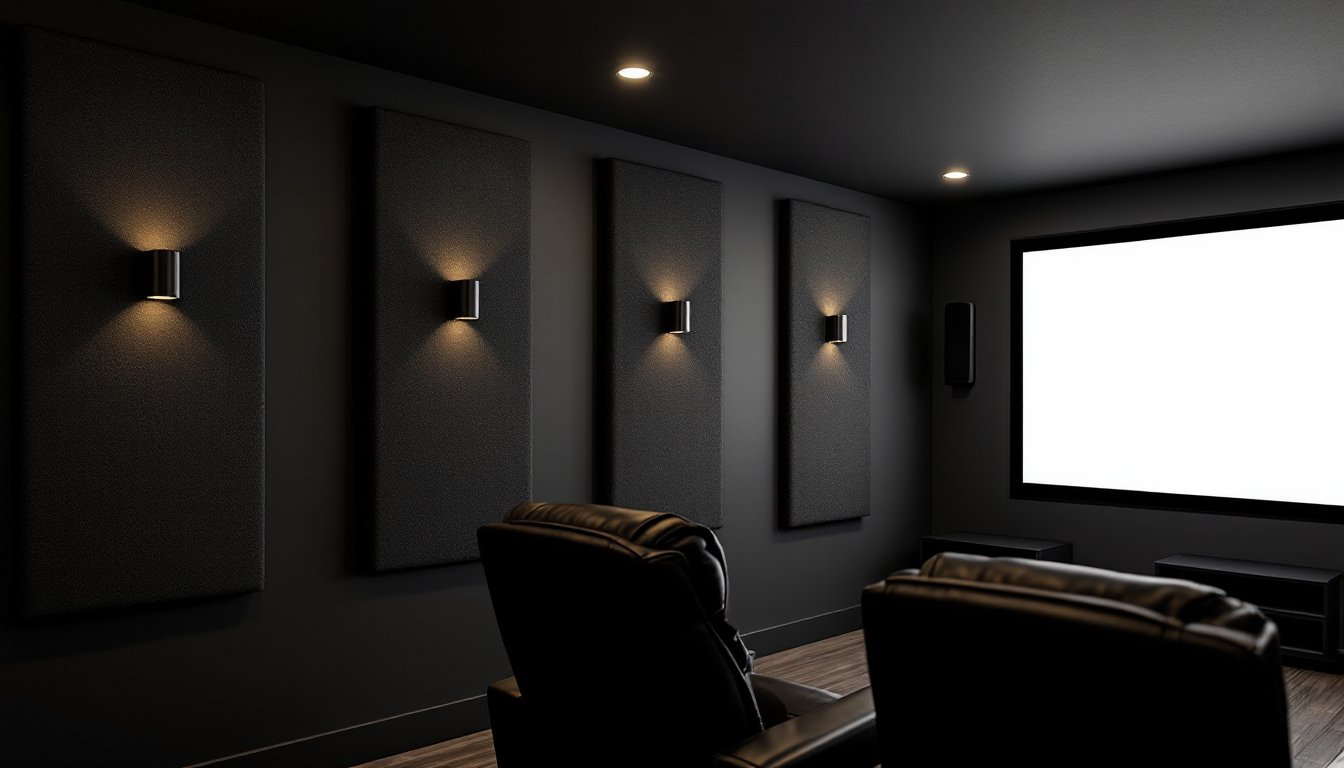
Design Ideas and Placement Strategies for Maximum Impact
Strategic placement matters more than quantity. Random panel coverage wastes money and looks haphazard.
Key placement zones:
-
First reflection points: These are side wall locations where sound from the front speakers bounces before reaching the listener. To find them, have someone slide a mirror along the wall while seated in the main viewing position. When the front speaker reflects in the mirror, that’s the first reflection point. Treat it with 2-4 inch absorption panels.
-
Behind the listening position: A diffusion panel here prevents early reflections from the rear surround speakers without deadening the room. Alternatively, use absorption if the room is overly lively.
-
Front wall: Absorption panels on either side of the screen reduce slap echo between front and rear walls. Avoid covering the area directly behind the center channel speaker unless treating for bass.
-
Corners: Bass traps in all four vertical corners control low-frequency buildup. Even two corner traps make an audible difference.
Visual design strategies:
- Symmetry: Match panel placement on left/right walls for balanced acoustics and cleaner aesthetics.
- Color blocking: Alternate panel colors to create patterns. Black and charcoal gray work well in dark theaters: lighter tones suit multi-use spaces.
- Geometric layouts: Stagger panel heights or create checkerboard patterns for modern appeal.
- Integrated lighting: Some installers add LED strip lighting behind perforated or slatted panels for indirect glow.
For smart integration with lighting and climate control, many setups now incorporate home automation systems that adjust ambient conditions based on viewing mode.
Avoid full-wall coverage unless building a professional studio. Overly damped rooms sound unnatural and fatiguing for long viewing sessions.
Budget Considerations and Where to Buy
Costs vary widely based on materials and whether panels are DIY or pre-made.
Budget tiers (per panel, 24″ x 48″ x 2″):
-
DIY fiberglass panels: $15-30 per panel (materials only). Bulk fiberglass from building supply stores, fabric from online retailers, and lumber from home centers keep costs low. Expect to spend a weekend building 10-12 panels.
-
Pre-made fabric-wrapped panels: $60-120 per panel. Companies like GIK Acoustics, ATS Acoustics, and Acoustimac offer ready-to-hang options in standard sizes. Quality is consistent, and installation is faster.
-
Designer acoustic panels: $150-400+ per panel. Brands like Audimute, Vicoustic, and Sonex offer premium finishes, custom printing, and architectural designs. Best for spaces where aesthetics are as important as performance.
-
Diffusion panels: $100-250 each for wood diffusers. Molded plastic versions run $50-100.
Where to buy:
-
Home centers (Home Depot, Lowe’s): Fiberglass insulation (Owens Corning 703 or equivalent), lumber, and basic tools. Limited selection of pre-made acoustic products.
-
Online acoustic retailers (GIK, ATS, Acoustimac): Wide selection, custom sizing, good technical support. Shipping can add 20-30% to cost for bulky items.
-
Amazon: Foam panels and budget fabric-wrapped panels. Quality varies, read reviews carefully. Good for small projects or experimentation.
-
Fabric suppliers (Guilford of Maine, JoAnn Fabrics): Acoustically transparent fabric by the yard. Guilford FR701 runs $12-20/yard.
For a typical 12′ x 15′ home theater, budget $300-600 for DIY treatment (12-16 panels plus corner traps) or $1,200-2,000 for pre-made panels. Designer panels in the same space can exceed $4,000.
Factor in mounting hardware ($2-5 per panel for Z-clips, more for French cleats) and tools if not already owned. A basic DIY setup requires about $50 in tools if starting from scratch.
Regional pricing varies, lumber and insulation costs fluctuate with market conditions. Buying materials during off-peak construction seasons (late fall, winter) sometimes yields better pricing.