
Table of Contents
ToggleGround fault circuit interrupters, GFCI outlets, are the unsung heroes of home electrical safety. They detect imbalances in electrical current and shut down power in milliseconds, preventing electrocution near water sources or damp areas. Whether you’re updating an older home to current code or replacing a tripped outlet in the bathroom, Home Depot stocks a solid range of GFCI receptacles that meet National Electrical Code (NEC) requirements. This guide walks through what makes a GFCI essential, which models Home Depot carries, how to pick the right one, installation steps, and troubleshooting common hiccups.
Key Takeaways
- GFCI outlets detect electrical current imbalances as small as 4–6 milliamps and cut power in 1/40th of a second, preventing electrocution in kitchens, bathrooms, garages, and outdoor areas where water poses a shock risk.
- As of 2026, the National Electrical Code requires GFCI protection for receptacles within six feet of sinks, all kitchen countertop outlets, bathrooms, garages, unfinished basements, and outdoor locations, with local building codes potentially adding stricter requirements.
- Home Depot’s top-rated GFCI outlets—Leviton SmartlockPro and EATON TR models—feature automatic self-test every three seconds, tamper-resistant shutters, and reset lockout for $17–$22, satisfying current NEC requirements without monthly manual testing.
- When choosing a home depot GFCI outlet, verify your circuit amperage (15 A or 20 A), confirm 125 V voltage for standard residential use, and opt for weather-resistant models if installing outdoors or in damp locations.
- Proper installation requires turning off power at the breaker, connecting incoming hot (black) and neutral (white) wires to the LINE terminals, and testing the reset and test buttons to confirm the device activates correctly.
- If a GFCI won’t reset or trips immediately, isolate the problem by unplugging downstream devices one at a time; if it’s more than ten years old or the LED blinks red, replace it rather than troubleshoot, as self-test models provide superior reliability and protection.
What Is a GFCI Outlet and Why Do You Need One?
A GFCI outlet monitors the flow of electricity between the hot and neutral wires. If it detects even a 4–6 milliamp difference, say, current leaking through water or a person, it trips in about 1/40th of a second, cutting power before serious injury occurs.
The NEC has required GFCIs in specific locations since the 1970s, and those requirements have expanded over the decades. As of 2026, code mandates GFCI protection for receptacles within six feet of sinks, all kitchen countertop outlets, bathrooms, garages, unfinished basements, crawl spaces, laundry areas, and outdoor receptacles. Local amendments can be stricter, so check with your building department before starting work.
GFCIs come in two main types: receptacle (the outlet itself) and circuit-breaker (installed in the panel to protect an entire circuit). For most DIYers, swapping in a GFCI receptacle at point-of-use is simpler and cheaper than a breaker retrofit. A single GFCI outlet can also protect downstream standard outlets on the same circuit via its “load” terminals, though testing and troubleshooting become trickier.
Beyond code compliance, GFCIs add a layer of protection against faulty appliances, frayed cords, and wet conditions. If you have young kids, pets, or aging wiring, upgrading to GFCI coverage in vulnerable areas is a low-cost safety investment.
Top GFCI Outlet Options Available at Home Depot
Home Depot’s electrical aisle carries both budget-friendly and contractor-grade GFCI receptacles. Two standouts combine reliability, ease of installation, and modern self-test technology.
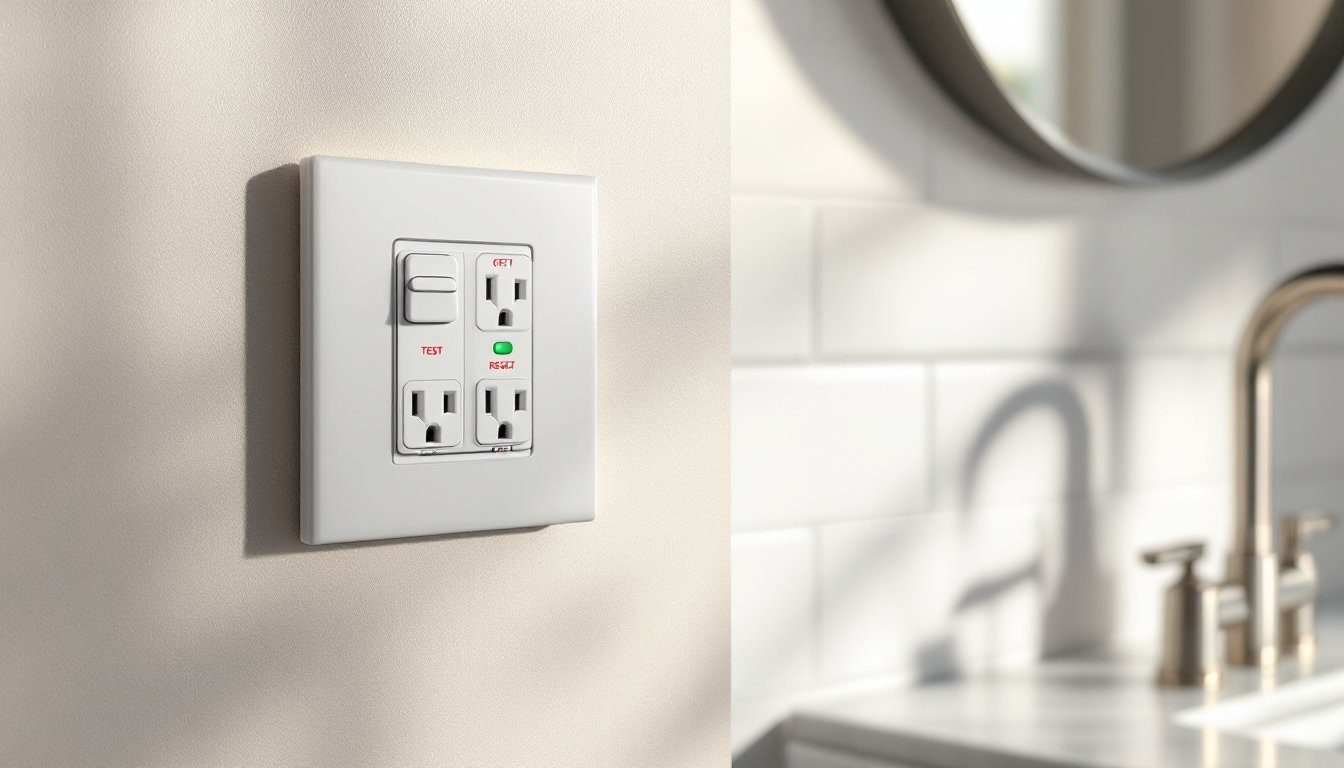
Leviton SmartlockPro Self-Test GFCI
Leviton’s SmartlockPro Self-Test GFCI (model GFNT1 and GFNT2 variants) automatically checks itself every three seconds and alerts with an LED indicator if internal circuitry fails. That self-test feature satisfies 2020 NEC requirements, which phased out manual-test-only models in new installations. The SmartlockPro uses a patented reset lockout: if the device can’t respond to a simulated ground fault, the reset button won’t latch, preventing a false sense of security.
It’s rated for 15 A, 125 V and 20 A, 125 V configurations, with a tamper-resistant (TR) shutter that blocks foreign objects, mandatory in dwellings per NEC 406.12. The backwire clamps and side-screw terminals accommodate 12 AWG and 14 AWG solid or stranded wire. Retail price hovers around $18–$22 depending on finish (white, light almond, ivory).
This model fits a standard single-gang box, though the added self-test electronics make it slightly bulkier than older GFCIs. If your box is crowded with wire nuts and Romex, trim and fold wires carefully.
EATON TR Self-Test GFCI Receptacle
EATON’s TR Self-Test GFCI (model TRVGF15 series) mirrors Leviton’s feature set, automatic self-test, tamper-resistant shutters, reset lockout, at a comparable price point ($17–$21). The EATON unit uses a slim-profile design that can ease installation in tight boxes. Its status LED blinks if the device detects an end-of-life condition or wiring fault.
One practical edge: EATON includes a quickwire push-in backstab option alongside screw terminals. Push-in connections speed up rough-in for new construction but aren’t always as robust as screw terminals under vibration or thermal cycling. For retrofit work or high-use locations, stick with the screw terminals and wrap them clockwise around the screws.
Both Leviton and EATON meet UL 943 standards and carry a limited warranty. Either brand works well: choosing between them often comes down to in-stock availability and whether you prefer Leviton’s grip or EATON’s fit.
How to Choose the Right GFCI Outlet for Your Home
Start by confirming amperage. Most residential circuits are 15 A or 20 A. Check the breaker label or existing outlet markings. A 20 A GFCI will work on a 15 A circuit, but you can’t put a 15 A device on a dedicated 20 A circuit (especially kitchen small-appliance circuits, which are typically 20 A).
Next, verify voltage. Standard household receptacles are 125 V. If you’re replacing an outlet in a workshop with 240 V equipment, you need a GFCI breaker, not a standard 125 V receptacle.
Tamper-resistant shutters are code-required for nearly all dwelling receptacles installed or replaced since 2008. Unless you’re working in a commercial or industrial setting, choose a TR model.
Self-test is now mandatory per NEC 2020 for new installations. If you’re doing a straight replacement of an older GFCI, technically you can re-use the same device type, but self-test models eliminate the monthly manual-test routine and catch internal failures automatically. For an extra $5–$7 over legacy models, it’s worth the upgrade.
Weather-resistant (WR) models add corrosion-resistant materials and sealed components for outdoor or damp locations. If you’re installing in an exterior box, pick a WR-rated GFCI and pair it with an in-use weatherproof cover. Standard-duty GFCIs can corrode or fail in wet environments.
Finally, think about color and finish. White, ivory, and light almond are stocked: other decorator colors may require special order. Match your existing plates or plan to replace them all for a uniform look.
If you plan to protect downstream outlets (“load” side), make sure the GFCI has clearly marked LINE and LOAD terminals. Not all do: some cheaper imports omit load wiring entirely. Leviton and EATON models at Home Depot include load terminals and wire labels.
Step-by-Step: Installing a GFCI Outlet from Home Depot
Safety first: Turn off power at the breaker panel and verify with a non-contact voltage tester. Tape the breaker in the off position if others are in the house.
Tools and materials:
- Non-contact voltage tester
- Flathead and Phillips screwdrivers
- Wire stripper
- Needle-nose pliers
- GFCI outlet (15 A or 20 A, TR, self-test)
- Wire nuts (if extending or capping)
- Electrical tape
- Safety glasses
Step 1: Remove the existing outlet cover plate and unscrew the old receptacle from the box. Pull it gently forward to expose the wiring. Double-check with your voltage tester on all terminals and the box itself.
Step 2: Note which wires connect to which terminals. Standard wiring uses black (hot) to brass, white (neutral) to silver, and bare or green (ground) to the green screw. Take a photo if it helps. If there are four wires, two blacks, two whites, you may have line and load. The pair coming from the breaker is LINE: the pair feeding downstream outlets is LOAD.
Step 3: Disconnect the old outlet. Loosen terminal screws and remove wires. Inspect wire ends: if they’re nicked, corroded, or burned, clip them back ½ inch and re-strip.
Step 4: Connect the GFCI. Attach the incoming hot (black) and neutral (white) to the LINE terminals, brass for hot, silver for neutral. If you want to protect additional outlets, connect the outgoing wires to the LOAD terminals. If not, cap the load terminals with wire nuts or leave them empty (some jurisdictions require capping unused terminals). Attach ground to the green screw.
Step 5: Fold wires carefully into the box. GFCIs are thicker than standard outlets, so arrange conductors in an accordion fold rather than jamming them straight back. Screw the device to the box ears, ensuring it sits plumb.
Step 6: Attach the cover plate and restore power at the breaker. The GFCI should emit a short beep or LED flash as it self-tests. Press the TEST button: the reset button should pop out and power should cut. Press RESET to restore power. If the reset won’t latch, the device detected a fault, double-check your wiring.
Permits: Replacing an outlet one-for-one typically doesn’t require a permit in most jurisdictions, but adding a new circuit or relocating boxes usually does. When in doubt, call your local building department.
For additional guidance on the installation process, many DIYers find detailed photo walkthroughs helpful. Similarly, replacing standard outlets with GFCI units in kitchens and bathrooms is a common weekend project.
Common GFCI Outlet Problems and How to Troubleshoot Them
Won’t reset after pressing the button: The most frequent cause is a downstream ground fault, something plugged in or wired on the LOAD side is leaking current. Unplug everything, then try resetting. If it latches, plug devices back one at a time to isolate the culprit. If it still won’t reset with nothing connected, the GFCI itself may be defective or there’s a wiring error (reversed line/load, shared neutral on a multi-wire branch circuit).
Trips immediately when you plug something in: That appliance likely has a ground fault, frayed cord, moisture inside, or internal short. Test with a known-good device. If the GFCI trips on every load, you may have a compromised neutral or ground connection.
No power even when reset: Verify upstream power with a voltage tester at the LINE terminals (power off, then back on). If LINE has no voltage, the problem is at the breaker or upstream wiring. If LINE is hot but the receptacle has no output, the GFCI’s internal contacts may have failed. Self-test models will lock out the reset in this case.
Nuisance tripping: Older GFCI units can become hypersensitive with age, tripping at currents below the 5 mA threshold. Motors, fluorescent lights, and long circuit runs can also induce tiny leakage currents that add up. If your GFCI is more than ten years old, replace it. Modern self-test models use tighter tolerances and filtering.
LED indicator blinking or solid red: Consult the device’s manual (often printed on the packaging or available via QR code). A blinking LED typically signals end-of-life or self-test failure: a solid indicator may mean wiring fault. Either way, don’t ignore it, the device is telling you it can’t protect you.
Shared-neutral circuits: If you have a multi-wire branch circuit (two hots sharing one neutral), installing a GFCI on one leg without accounting for return currents on the shared neutral will cause constant tripping. In these cases, use a two-pole GFCI breaker at the panel instead of a receptacle.
For complex installations, such as GFCI outlets in garages with multiple circuits or subpanels, consider consulting a licensed electrician. Multi-wire branch circuits and aluminum wiring require special techniques beyond typical DIY scope.
If troubleshooting doesn’t resolve the issue and the device is under warranty, Home Depot accepts returns with receipt. Keep your packaging and test the replacement before installation to rule out a bad unit straight from the box.