
Table of Contents
ToggleEstate refrigerators, once a standalone brand before being absorbed into the Whirlpool family, still run strong in thousands of kitchens across the country. But when a part fails, and eventually, something will, homeowners face a hunt for components that aren’t always clearly labeled or easy to source. Whether it’s a cracked shelf, a dying ice maker, or a water filter that’s overdue, knowing where to look and what to buy can save a fridge from an early trip to the landfill. This guide walks through the most common Estate refrigerator part failures, where to track down genuine replacements, and how to install them without calling in a repair tech.
Understanding Estate Refrigerator Models and Common Part Failures
Estate refrigerators were manufactured primarily in the 1990s and early 2000s before Whirlpool phased out the brand name. Most models share internal components with Whirlpool, Kenmore, and Roper units from the same era, which means cross-compatibility is often possible, but not guaranteed.
The model and serial number tag is typically located inside the fresh food compartment, either on the upper left wall or along the ceiling. That alphanumeric code is critical when ordering parts. Estate model numbers usually start with letters like “ET” or “ES,” followed by a series of numbers. Write it down or snap a photo before you start shopping.
Common failure points include ice maker assemblies (especially the fill tube and water inlet valve), defrost timers, door gaskets, and plastic components like shelves and crisper drawers. Compressors and sealed system failures are less common but usually signal the end of the appliance’s useful life. Electronic control boards can fail in models with digital displays, though many Estate units used simpler mechanical thermostats that are more forgiving.
Refrigerators generally last 10 to 15 years, but parts wear at different rates. Water-related components see the most stress due to mineral buildup and freeze-thaw cycles. Door hinges and drawer glides fail from repeated motion and overloading. Understanding which parts are wear items versus catastrophic failures helps homeowners decide whether a repair is worth the time and cost.
Where to Find Genuine Estate Refrigerator Replacement Parts
Because Estate is no longer an active brand, parts are sold under the Whirlpool umbrella or through third-party appliance parts suppliers. Whirlpool’s official parts website is the most reliable source for OEM (original equipment manufacturer) components. Enter the Estate model number, and the system will pull up compatible parts, often listing Whirlpool part numbers that fit.
Third-party retailers like RepairClinic, AppliancePartsPros, and PartSelect stock a wide range of Estate-compatible parts, often at lower prices than OEM. These sites include diagrams that let users click on the component they need, which is helpful if the exact part name isn’t known. Verify fitment by cross-referencing the model number and part number before ordering.
Local appliance repair shops sometimes stock common Estate parts or can order them overnight. This route costs more but eliminates shipping delays and allows for in-person advice. Some shops will sell parts over the counter without requiring a service call.
Amazon and eBay carry Estate parts, but quality varies. Stick to sellers with high ratings and clear return policies. Counterfeit or off-brand filters and gaskets are common on these platforms, and they often fail prematurely. For critical components like defrost timers or control boards, OEM or verified third-party parts are worth the extra cost.
Many appliance maintenance tasks benefit from using the correct replacement part rather than a generic substitute, especially in refrigeration where tolerances and materials matter.
Most Frequently Replaced Estate Refrigerator Components
Water Filters and Ice Maker Parts
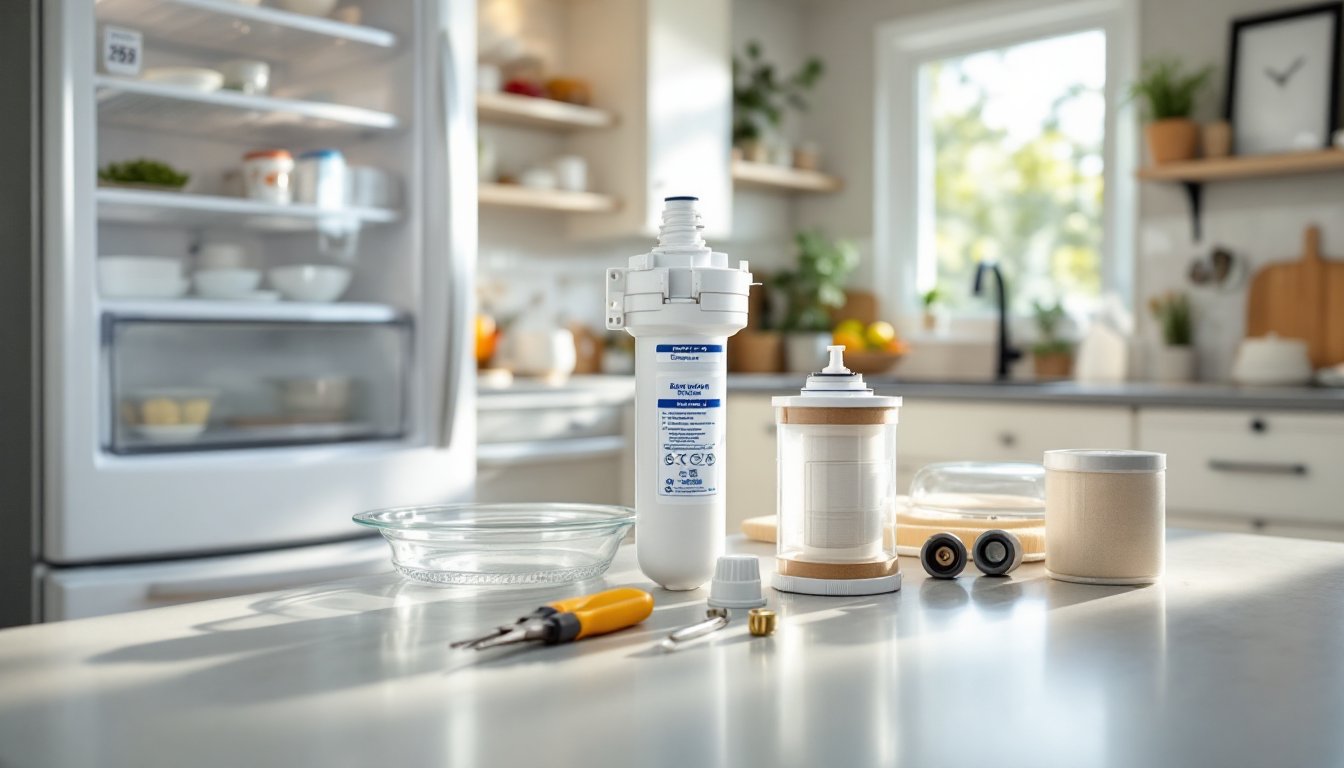
Water filters require replacement every six months under normal use, or sooner if water flow slows or tastes off. Estate refrigerators with in-door water dispensers typically use cartridge-style filters that twist into a housing in the upper right corner of the fresh food compartment. The filter model number is printed on the cartridge itself. Common Estate filter models include 4396508 and 4396510, though these have been superseded by newer Whirlpool-branded equivalents.
Ice maker assemblies fail in predictable ways. The water inlet valve (the solenoid that opens to fill the ice tray) clogs with mineral deposits or fails electrically. Symptoms include no ice production or continuous water flow into the ice bin. Replacement valves cost $20 to $50 and require shutting off the water supply line before removal.
The ice maker fill tube can freeze if the defrost cycle isn’t warming the freezer evenly, blocking water flow. Thawing the tube with a hairdryer (never an open flame) often restores function temporarily, but a malfunctioning defrost timer or heater may be the root cause. The ice level arm (the wire bail that senses when the bin is full) can break or bend, causing the ice maker to stop cycling. Replacement arms are inexpensive and snap into place without tools.
According to appliance experts at Good Housekeeping, regular ice maker maintenance, including cleaning the bin and checking the fill tube for ice buildup, extends component life and prevents repair calls.
Shelves, Drawers, and Door Bins
Plastic components are the most visible failures in aging refrigerators. Glass shelves crack from impact or thermal shock (placing a hot dish on a cold shelf). Estate shelves are typically spill-proof designs with a raised edge and are supported by molded plastic clips. Replacement shelves are model-specific: verify dimensions and clip style before ordering. Used shelves from appliance salvage yards or eBay can save money, but inspect for cracks and warping.
Crisper drawers and deli drawers crack at the corners or along the track rails. Replacement drawers run $30 to $80 depending on size. Some Estate models used clear styrene drawers that yellow and become brittle over time: newer replacement drawers are often made from more durable polycarbonate.
Door bins fail at the mounting points where they clip into the door liner. The plastic tabs that lock the bin in place snap off from overloading (gallon milk jugs are common culprits). Replacement bins are available individually, though some retailers only sell them in sets. Check the door liner for cracks around the mounting slots before installing a new bin, if the liner is damaged, the new bin won’t hold securely.
Interior kitchen organization strategies often emphasize proper weight distribution in refrigerator shelves and bins, which reduces stress on mounting hardware and extends part life.
DIY Replacement Tips: Installing Estate Refrigerator Parts Yourself
Most Estate refrigerator part replacements are within the skill range of a moderately handy homeowner. Always unplug the unit before starting work. For models with a water line, shut off the supply valve (usually located under the sink or behind the fridge) and have towels ready to catch residual water.
Tool requirements are minimal. A 1/4-inch nut driver or socket set handles most screws and hex-head fasteners. A multimeter is useful for testing electrical components like inlet valves and defrost timers. Needle-nose pliers help with wire harness clips, and a putty knife can pry off trim pieces without marring the finish.
Shelves and bins are the easiest swaps, no tools required. Lift the shelf at the front to disengage the rear clips, then pull forward. Reverse the process to install. Door bins typically slide up and out of their slots: new bins click into place.
Water filters twist counterclockwise to remove. Expect a small water release when the old filter comes out. Prime the new filter by running a gallon of water through the dispenser to clear air and carbon fines. Discard this initial water, it’ll be cloudy and taste gritty.
Ice maker replacement requires removing the freezer bin and unscrewing the mounting bracket (usually two screws at the top). Disconnect the wire harness by pressing the locking tab and pulling straight out. The water line attaches via a compression fitting or quick-connect, either type can be removed by hand, though a small adjustable wrench helps with stubborn fittings. Install the new ice maker in reverse order and test by advancing the cycle manually (there’s usually a test button or a slot for a flat screwdriver to turn the drive gear).
Door gaskets (the magnetic seal around the door opening) require patience. Old gaskets are held in place by a retainer strip under the door liner. Loosen the retainer screws (don’t remove them completely) and work the old gasket out section by section. Soak the new gasket in warm water for a few minutes to make it pliable. Start at the top center and work outward, tucking the gasket lip behind the retainer. Tighten screws evenly to avoid warping the door.
Safety note: Wear work gloves when handling sheet metal edges inside the refrigerator cabinet. Sharp edges are common behind trim panels. If working with electrical components, verify power is off with a multimeter, some circuits remain live even when the unit is unplugged if there’s a backup battery.
Know your limits. Sealed system work (compressor, evaporator, condenser) requires EPA-certified refrigerant handling and specialized tools. If the diagnosis points to a refrigerant leak or compressor failure, call a licensed appliance tech. Similarly, if a repair requires removing the entire refrigerator cabinet from the built-in enclosure or lifting components over 50 pounds, get a helper or hire it out.
Most parts ship with installation instructions, but YouTube videos specific to the Estate model number can clarify tricky steps. Search for the model number plus the part name (e.g., “Estate ET18NKXFW ice maker replacement”) for visual walkthroughs.
Conclusion
Estate refrigerators may no longer carry an active brand name, but their shared lineage with Whirlpool means parts remain available and repairs stay feasible. Most common failures, ice makers, water filters, shelves, and gaskets, are well within DIY capability with basic tools and attention to detail. Tracking down the right part starts with the model number and ends with cross-referencing compatibility. For homeowners willing to turn a wrench and follow a diagram, keeping an old Estate unit running beats the cost and hassle of replacement.